How to Build a Pedalboard – The Basics
You’ve been putting it off for years – a backpack full of pedals that you string together every gig and rehearsal… Now it’s time to make things a little more official and you’re wondering how to build a pedalboard. This can be as easy or as complex as you want, but either way the principle is the same! Tone Tailors has everything you need to organize your pedal signal chain from start to finish, so let’s jump right in.
Plotting your Signal Chain
“Front-End”
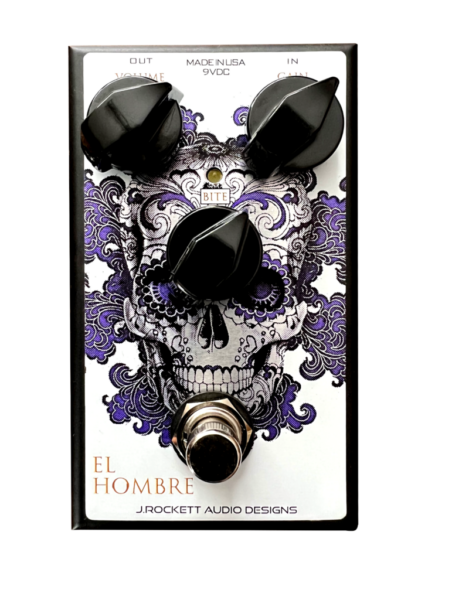
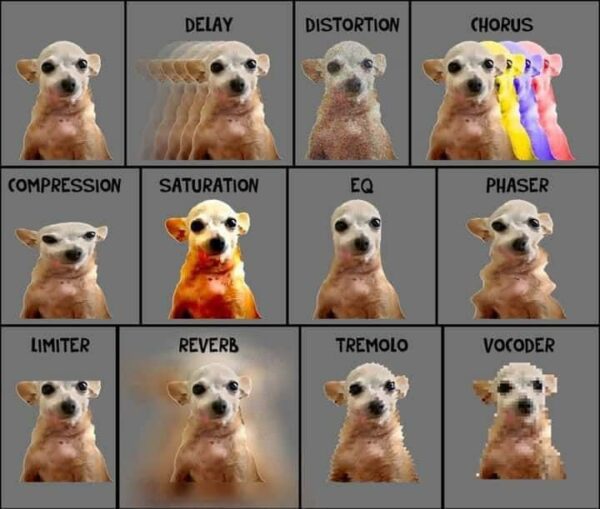
The first thing to consider when building your pedalboard is what signal flow you need for live or in the studio. From an audio engineering standpoint, there are principles in place for which effect should run into the next. Effects that work their best early in your signal chain generally include compression, EQ, and overdrive or distortion. Some refer to these as your “front end” meaning the sound of your guitar itself lives here tonally.
Modulation
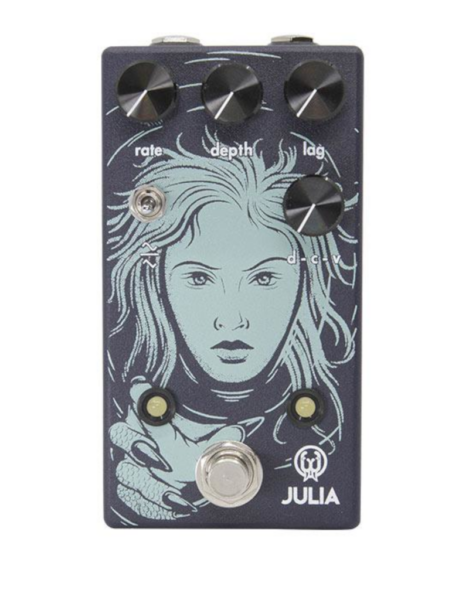
Next, a general consensus is that modulation effects like chorus, phaser, flanger, univibe and the like work best after your front end effects. These pedals end up displaying their sound the most accurately when engaged before time-based effects as well.
Time-Based Effects
Time-based effects refer to delay and reverb and anything in between. While you can run a delay into a distortion pedal, the result will be drastically different than the inverse. For the most clarity, most players will send their distortions and modulations into their delay or reverbs to provide a clean sense of space and ambience.
Again, it’s absolutely encouraged to experiment with the order or your pedals, but keep in mind that there are certain principles which help to achieve more consistent results.
Cabling is Key!
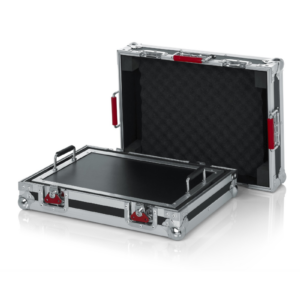
Now that you’ve plotted out your signal chain, it’s time to think about the actual mounting, cabling and organization of your board. One resource that we find to be incredibly helpful during this process is a website called Pedal Playground. Here you can find scaled images of lots of professional level pedalboards such as Rockboard, Gator, and more! You’ll also find drag and drop pedals to line everything up before committing to your working configuration. A good rule of thumb is to add slightly more space between each pedal than you may expect. While there are some amazing low-profile cables out there on the market, none are completely flat. Which leads us to our next consideration…
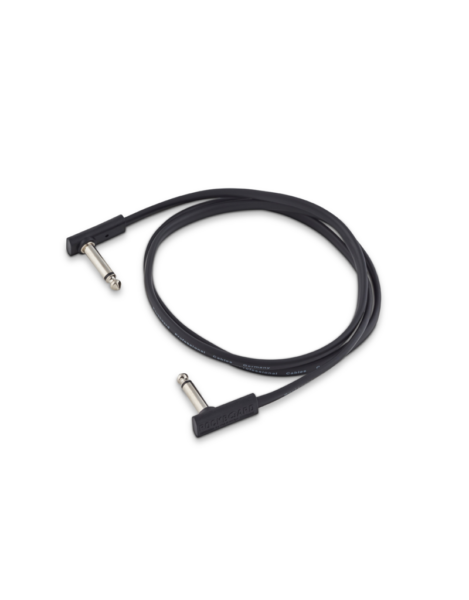
Whether you’re a hobbyist, a worship leader, or touring artist, cabling is the lifeblood of your pedal board. Even the most expensive and complex pedals will fail if you don’t have your cabling right! Some quality cabling that Tone Tailors always has in stock is RockBoard’s flat patch cabling.
In addition to low profile options, you can find just about any length you need for competitive prices. There’s a lot of debate as to whether solder-less cables are “touring grade.” Common sense would tell you that a soldered connection is inherently better, so long as you know what you’re doing. When in doubt, go with something pre-soldered or invest in a nice soldering iron, which should save you money in the long run too if you learn to repair old cabling.
Power your Board
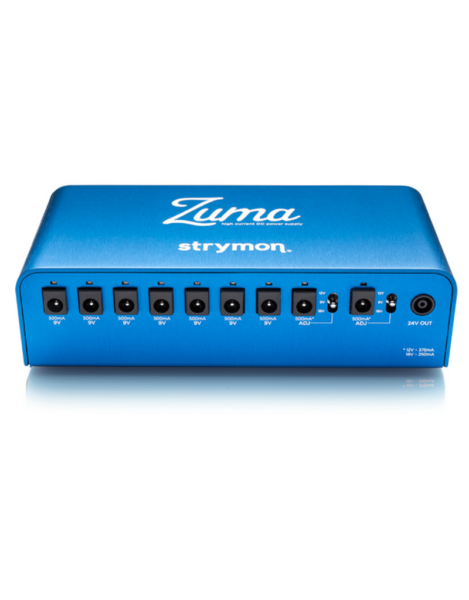
The final area of interest is your power supply, the actual heart of your board. Clean power is absolutely essential when it comes to making sure each pedal is functioning correctly. Without getting too into the weeds, you’ll need a power supply that has more than the total amperage of your pedals. This accounts for certain startup power needed for higher draw digital pedals. Some of the options that we routinely stock include Strymon and Truetone. Either of these should provide enough power and flexibility to keep your rig running smoothly!
Still Wondering How to Build a Pedalboard?
If you’re wondering how to build a pedalboard or troubleshooting an exiting one, contact us and we’ll guide you toward the light!